|
General professional photography portrait tips:
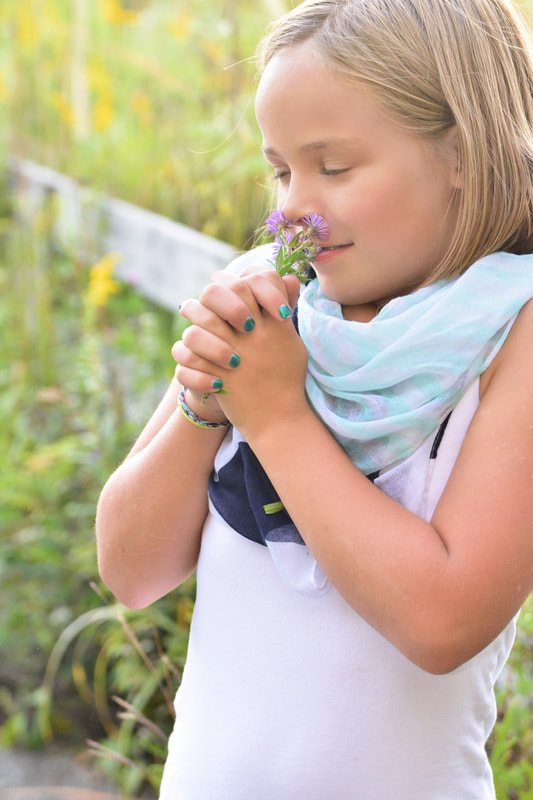
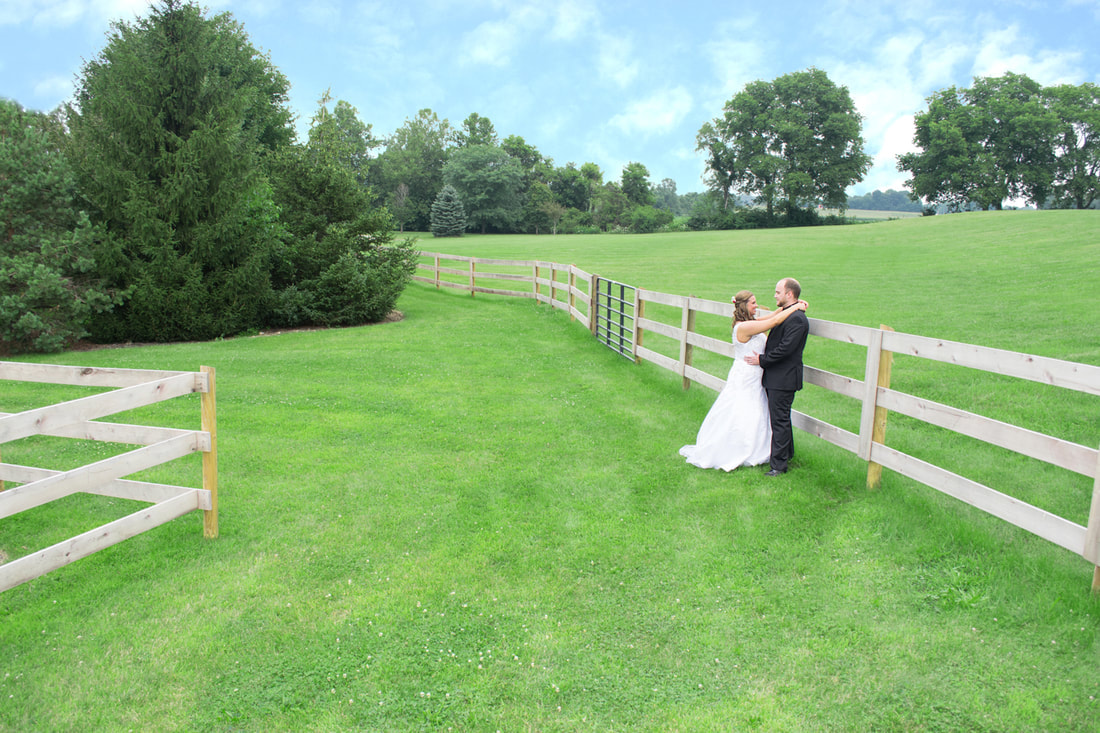
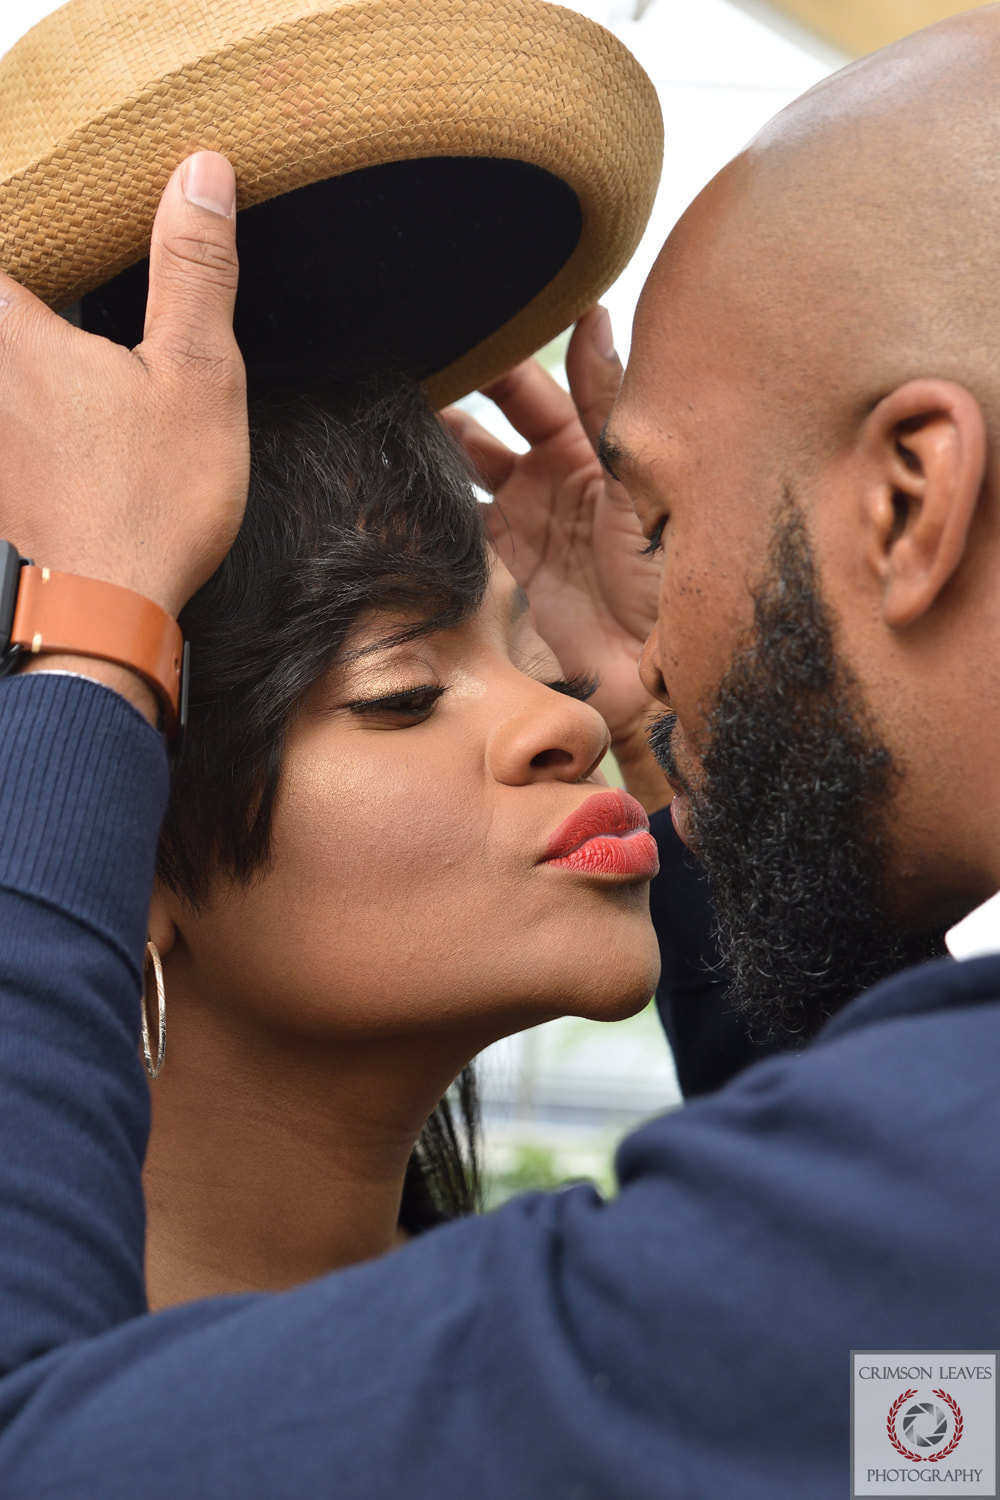
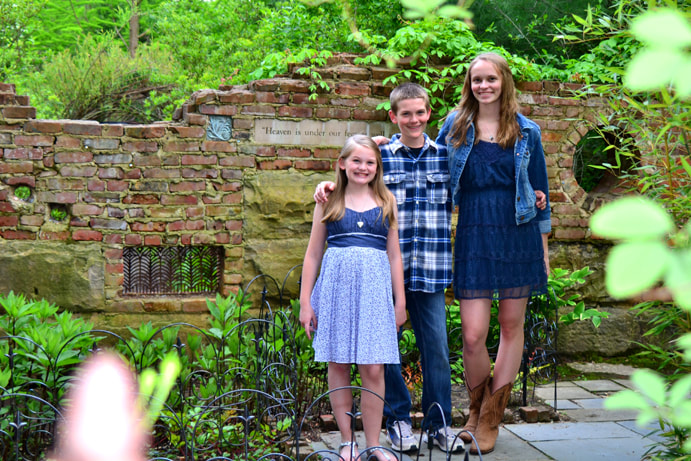
* The eyes should be close to where the rule of third lines intersect (not in the very center of the photo) * Find a few interesting / unique perspectives (pretty high or low angle) in addition to your formal shots * When not looking for very unique perspectives, make sure the camera is eye level with your subject (stand on something if they are taller than you or kneel down if they are shorter) * Have a balance of variety (close-up shots, far away shots, unique shots) * Move toward or zoom in VERY CLOSE (the face is most important, it's RECOMMENDED to cut out parts of the head for close-ups and any other distracting objects) * Move or zoom out VERY FAR (this is to show off the background. There should be AT LEAST 1/3rd or more of the background above, below, AND next to the subjects. * Find a path, fence, or lines that go off into the distance for far away shots * Avoid MEDIUM distances from your subjects (2/3rds of the person's body should NOT be showing) Capture full body with plenty of background all around them, or top half of the body at most. * Look around for background colors / textures that you feel go well with the subject * Close-ups usually look best. Even if you think you are close enough, GET A BIT CLOSER * Close-ups can either have no background showing (super close), or 1/3rd background. * For close-ups, avoid having a distracting background (it should complement the person, not pull your attention away from them) * Use aperture F/4 - 5.6 for close-ups (creates bokeh - background blur while keeping the whole face in focus) * Use aperture of F/8 - F/16 for far away shots so most or all of the environment will be in focus Now let's look at where to arrange 1 or more people in a shot. Look at my first photo. This is the farthest away you should take a face portrait. Her body takes of 2/3rds of the shot vertically on the right side. 1/3rd of the shot to her left is the background. Her head is purposely cut off on top and the side to draw your eyes to her face and so the background isn't as distracting. Her eyes are not in the center of the photo which means every part of this photo is following the rule of thirds. Look at the second photo. Again, the man's head is mostly cut off so your eyes will focus on the faces. You can tell he is holding a hat so there is no reason to have the whole hat in the shot. I got close enough so the background is barely seen because this shot was all about their moment, not about the environment they were in. Notice her left eye is not in the very center of the photo, and neither is his. Look at the third photo. This is a super wide angle (far away) shot. The couple is positioned 1/3rd from the right and 2/3rds from the left. The horizon (grass) covers 2/3rds of the photo. The sky covers 1/3rd. The fence goes off into the distance which improves the dramatic effect and creates some perspective of distance. I was actually standing on an electrical box to create a unique perspective / angle. Look at the fourth photo. This is as close as you should get for a wide angle (far away) shot. Their bodies go from the bottom of the shot to about 2/3rds toward the top. They are grouped together about 1/3rd from the right. Look at the fifth photo. This is a business head shot. Notice his eyes are 1/3rd from the top of the photo. I only captured mainly his upper chest and there is not much background. The creates attention to the face.
1 Comment
Lesson 1-2 The very basics of pro photography: Today let's talk about some camera buttons and dials that are important but many people don't use. First off, the EV +/- button or dial. Depending on your camera, there will be a button with (+/-) symbols or a dial that shows 0,-1,-2,-3,+1,+2,+3. This is your EXPOSURE VALUE adjustment. Exposure is a photographer term that means brightness. (+) numbers make the next photo brighter, (-) numbers makes it darker. How great is that! So easy! If someone's face is too dark from the last pic you took, just keep raising the numbers until you get correct exposure. Exposure is adjusted in 1/3rds by all cameras. Example +0.3, +0.7, +1.0, etc... If you use your LCD screen to take pictures instead of a viewfinder, then you can even see the changes in real time before you take the photo which is very helpful! This saves you time from taking a pic, then looking to see if it's too dark or bright. Don't forget to change your settings back to zero once you get the shot you want. Next let's talk about the DRIVE button. The icon for this is usually several boxes overlapping each other on the button. This changes your picture taking mode from a single photo to continuous several photos. So if you are shooting kids running around, you would probably set your drive mode to continuous so that the camera takes lots of pictures while holding the shutter button down (the button that takes photos). Continuous mode is also great for flying birds or really any moving subject.
Stay tuned for the next lesson! Post any questions! If you would like 1 on 1 live online training click class registration at the top of this page. |
AuthorMatt Cangelosi - International Award-Winning Photographer - Columbus, Ohio Archives
October 2020
Categories |


 RSS Feed
